|
|
Post by "DoubleAction" on Nov 6, 2009 7:25:54 GMT -5
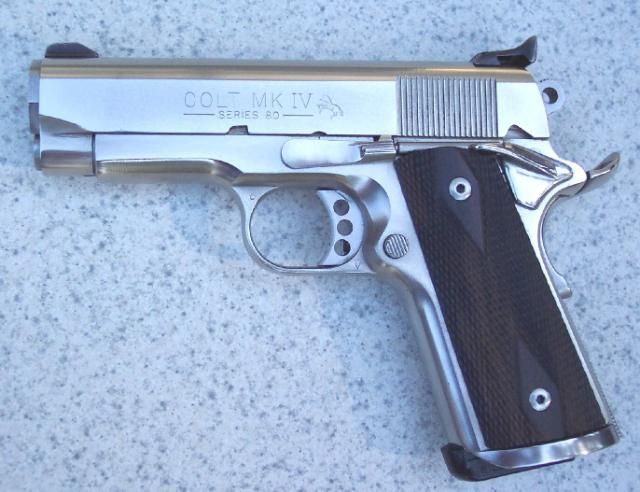
Just another reason for buying into the 1911
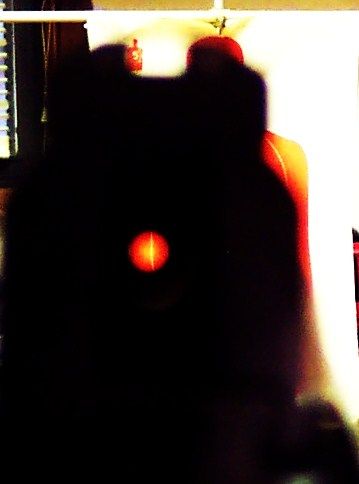
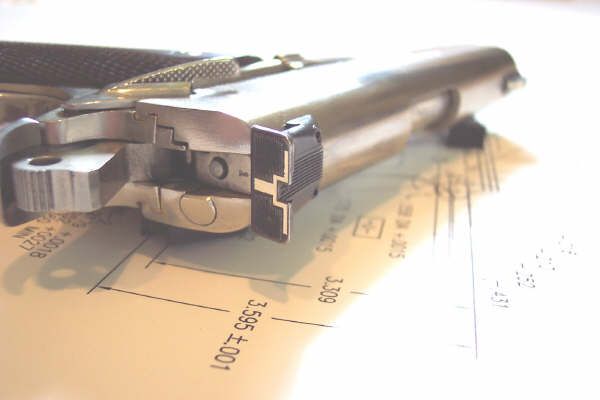
I hope this might take the guess work out your ammo cost at the range; it works especially good on those pistols with rear adjustable sights. The Firing Pin Spring will be under tension, make sure you point it in a safe direction to prevent an mishap. .......This might work better if was done in a hallway or outdoors. I have done it in the hallway, leading to the living room....... For illustration purposes, I just used the kitchen for its lighting.
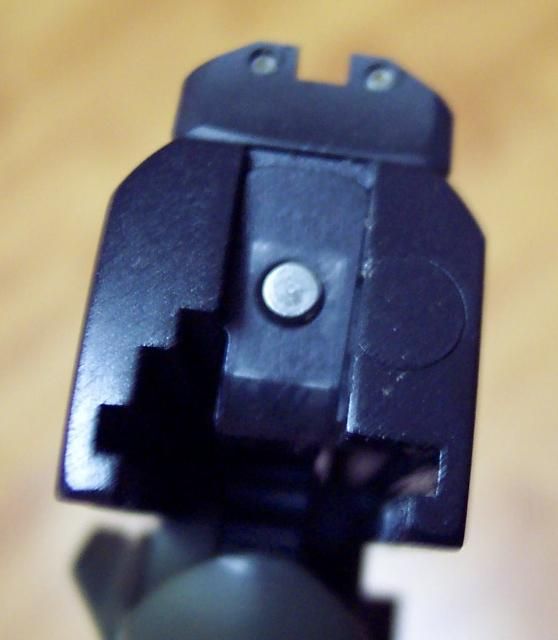
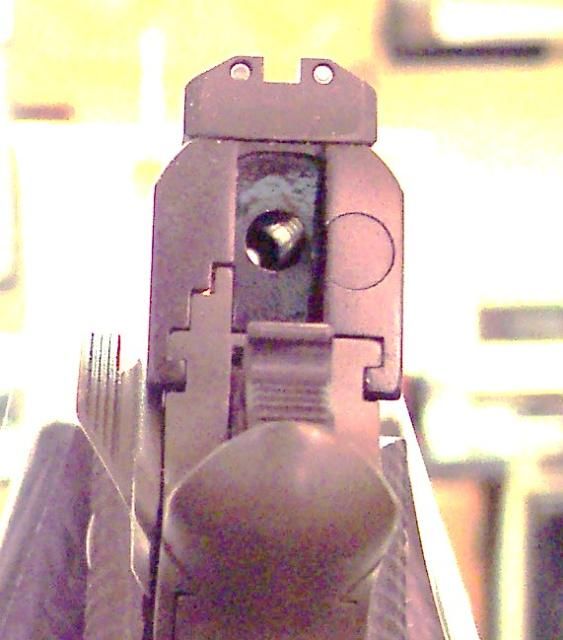
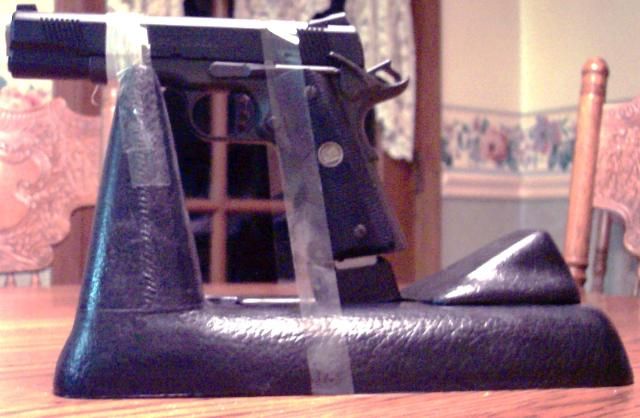
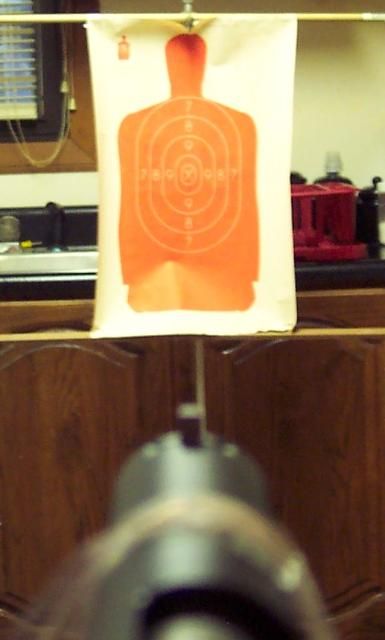
Begin By Making Sure The Pistol Is Unloaded and The Chamber Is Cleared Before you start off by Locking the Slide Back, ( DON"T FORGET TO YOUR PROTECTIVE SAFETY GLASSES ); You could also use an empty magazine to make sure the Slide will remain locked in place while you do this. Now remove the firing block, the firing pin, and the firing pin spring. With the Slide locked and the Thumb Safety locked, you are ready to begin. This where my Millet Bench Rest becomes useful. You will notice how I taped the pistol to the bench, this prevents the pistol from moving during bore sighting. You can use a target on a wall or a stand, like I used. With the sights locked on to the "X", you are ready begin the bore sighting the pistol. While looking down the small firing pin hole, you will see down the barrel's bore.The center of the bore should be in direct correspondence to the pistol sights, while centered on the "X". Are There Any Questions ?
|
|
|
|
Post by Callahan on Nov 6, 2009 10:00:13 GMT -5
Interesting. I've done similar with a bolt-action hunting rifle, which is very easy. I did not know that you could do that with a 1911. Makes me think there may be something to that design. It may be around for a few years.  |
|
|
|
Post by MLB on Nov 6, 2009 16:25:27 GMT -5
Gotta get me one of those someday...
|
|
|
|
Post by "DoubleAction" on Nov 7, 2009 3:09:49 GMT -5
Thanks for your replies; I worked very hard on this thread. I have found out that illustrations speaks louder than mere words, when convincing people. ;D
|
|
|
|
Post by "DoubleAction" on Nov 7, 2009 17:03:19 GMT -5
I only wished that I could have known about this, before I spent the ammo and range time trying to prove that I wasn't shooting low with this pistol. This was my cure ;D
|
|
|
|
Post by "DoubleAction" on Apr 4, 2010 12:56:46 GMT -5
This might work better if was done in a hallway. I have done it in the hallway, leading to the living room. For illustration purposes, I just used the kitchen for its lighting.
|
|
|
|
Post by TMan on Dec 24, 2010 23:08:58 GMT -5
I don't know how I missed this thread... (Could it be something I drank?)
My point is: scale it!!! The ideal distance to the target would be where you would intend to shoot. For example: if you were 1" from the target, the sights would be way off. Ideally it would be where you would be shooting from at the real target. Personally, I like 7 yards because I don't need optics to see where I hit.
Personally, I've never owed a 1911 that didn't at least get me on the paper at 7 yards.
|
|
|
|
Post by "DoubleAction" on Dec 27, 2010 8:48:25 GMT -5
.....TMan; I used this same principle to adjust the rear adjustable sight (BoMar) on my Colt Trophy Gold Cup and I followed up by testing it at the range. The rear sight was dead on the money and I never had to find any need to adjust it again.
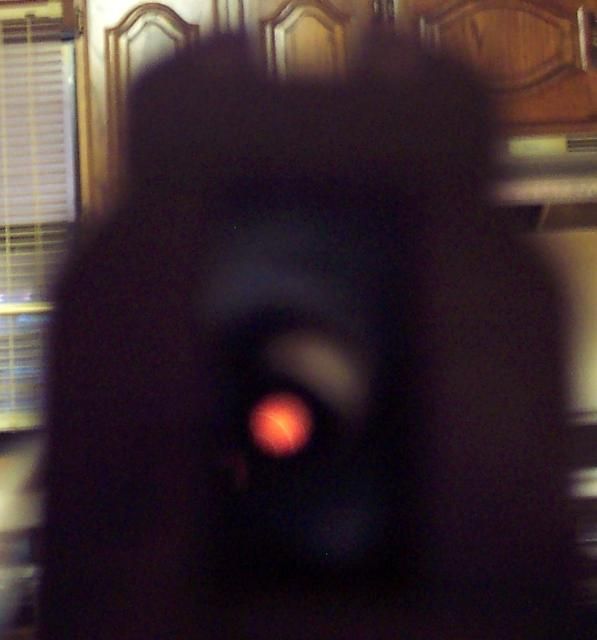
.....I recommend using a hallway or a room with more distance, but I needed the extra light to illustrate this for the camera.
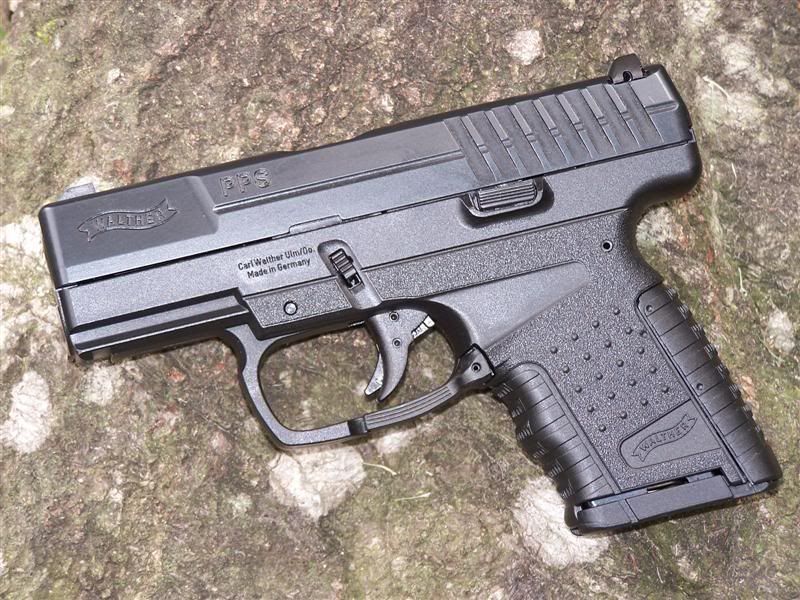
......I used the Wilson for the photos, because the firing pin is a lot easier to remove quickly.
.....Its all about illustrations and training aids, rather than practical applications, before going to the range; It's also about saving ammo.
|
|